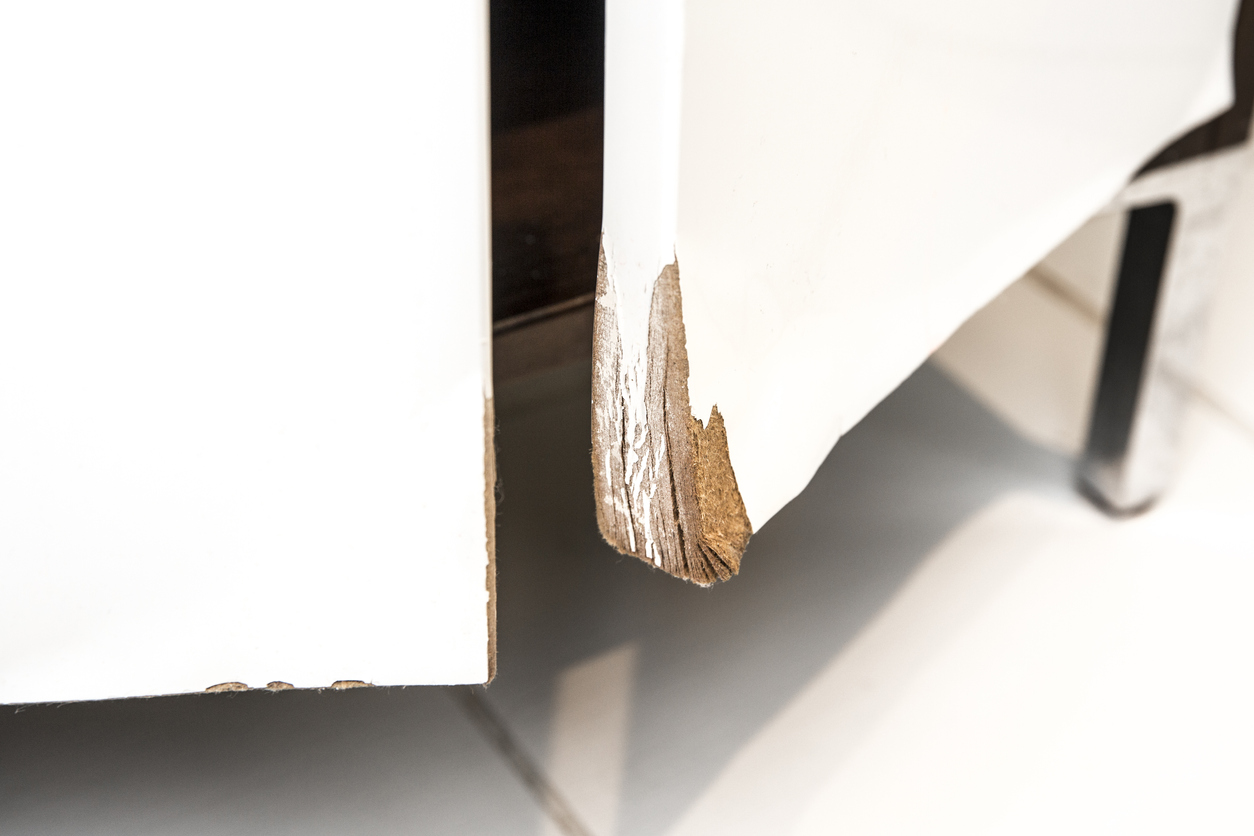
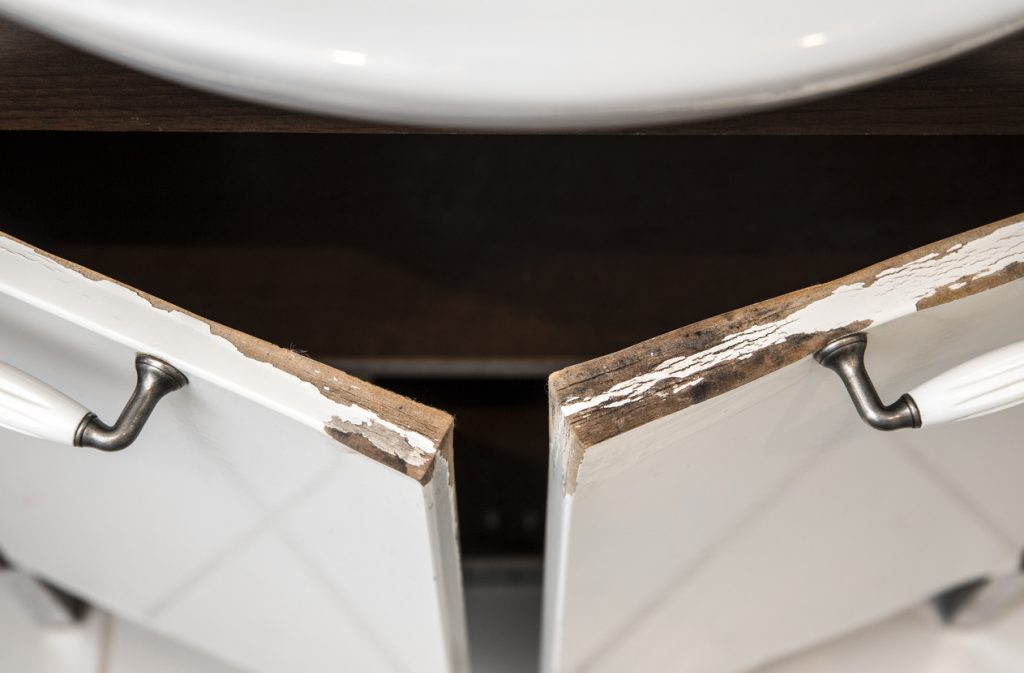
A common material choice for cupboards and open cabinetry, MDF is a durable and easily customizable fibreboard.

However, MDF’s resilience will falter against prolonged water exposure.

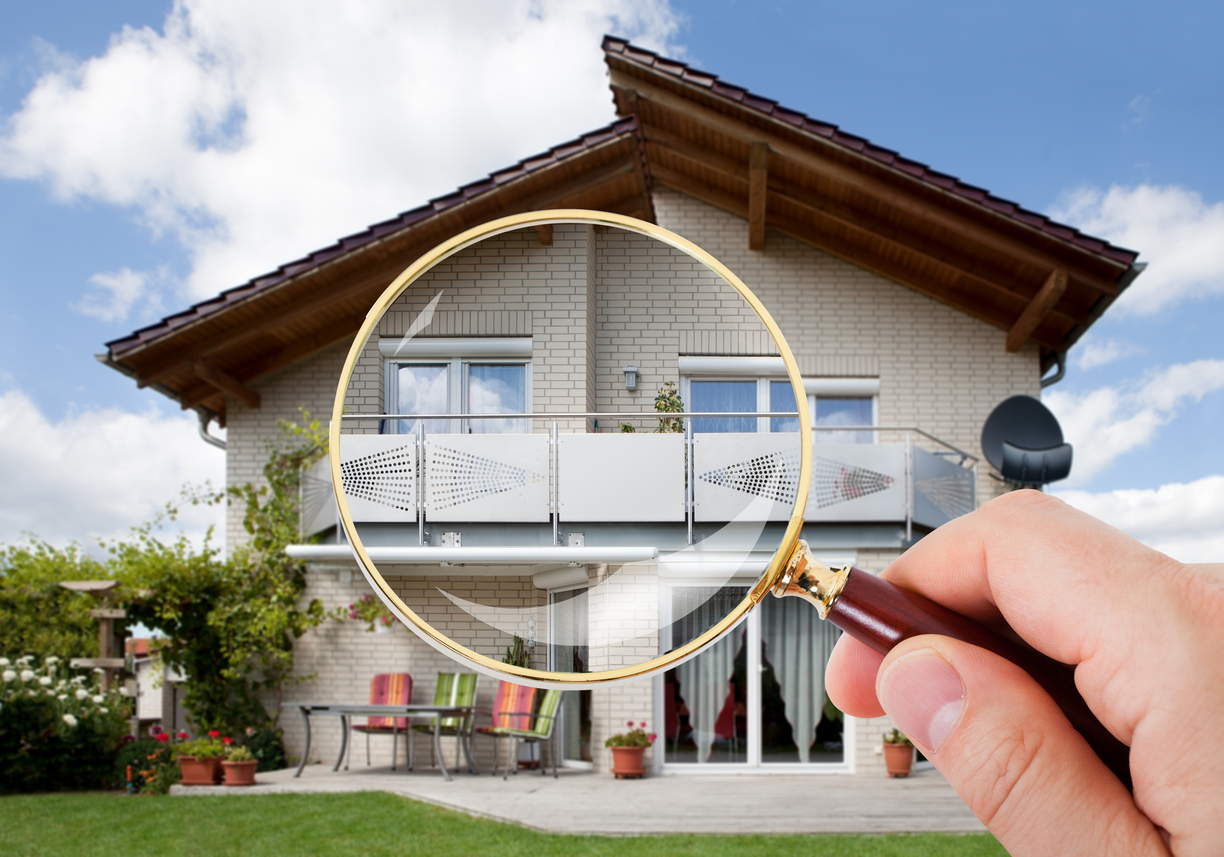
Let’s look at how you can repair your water damaged MDF cabinets.

Repairing MDF Water Damage

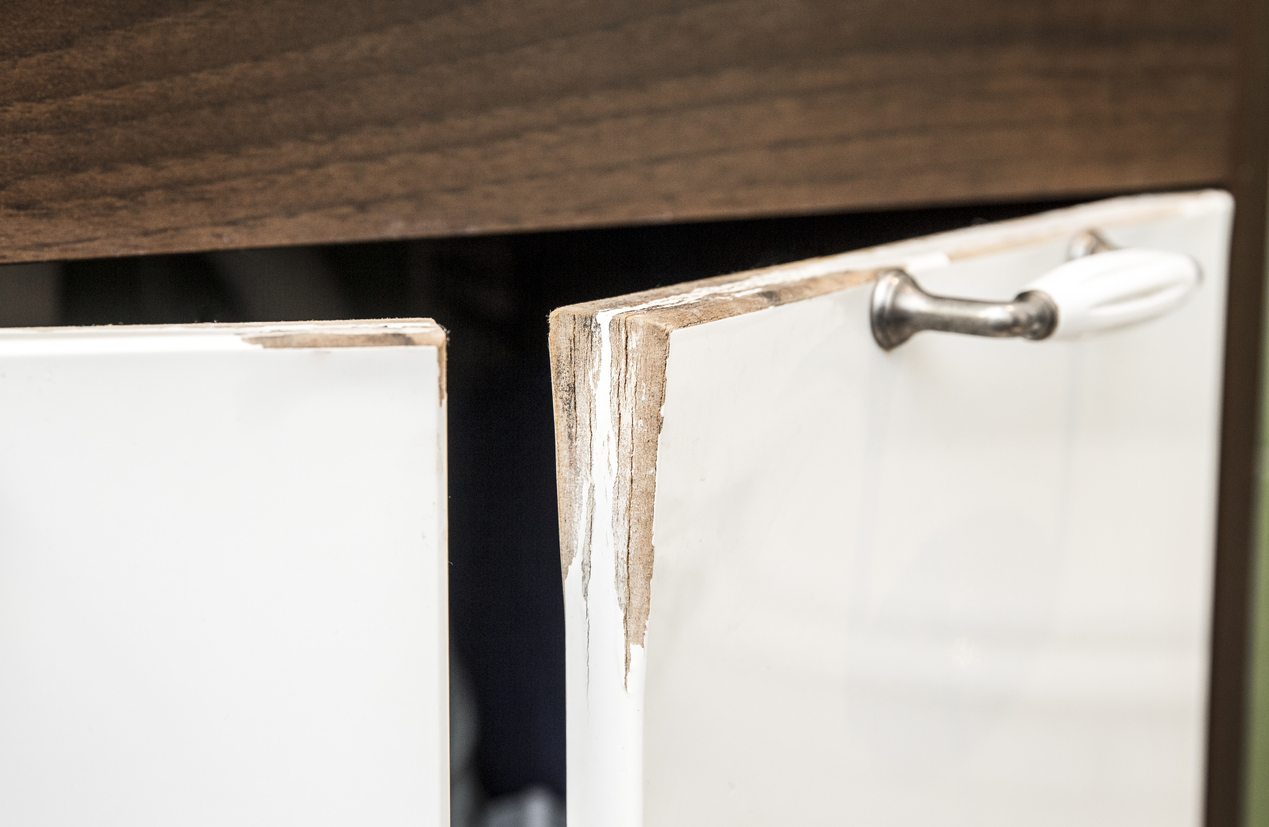
You will notice that your MDF cabinets have swelled and puckered as a result of the water damage. Therefore, the first challenge will be to smooth out these bumps.

Prep

If possible, unhinge or remove the damaged MDF cabinet door from the rest of the cabinetry. This will make the repair process easier, as you will be able to move around and manipulate the damaged section at will.

Primer

Next, add a shellac-based primary to the MDF. This will help cover minor signs of damage, as well as help paint stick later on.

Filler

The next action is to use plastic wood filler to seal up the damage. This step may not be necessary if the damage is minimal, but the filler is perfect for greater ridges and bumps. It’s recommended you use a putty knife to help with the application.

MDF Cabinet Doors Calgary

Take your time with this step. The smoother and more level the MDF looks at the end of the application, the better your finished product will be.

Sand

Now it’s time to get to sanding! Water damaged MDF is evident by its bubbles, so sanding it down so that the material is even and smooth is critical.

You can choose to do this step either by hand or with an electric sander. Selecting a medium-fine grit, around 100 or 120, is a safe bet.

Paint

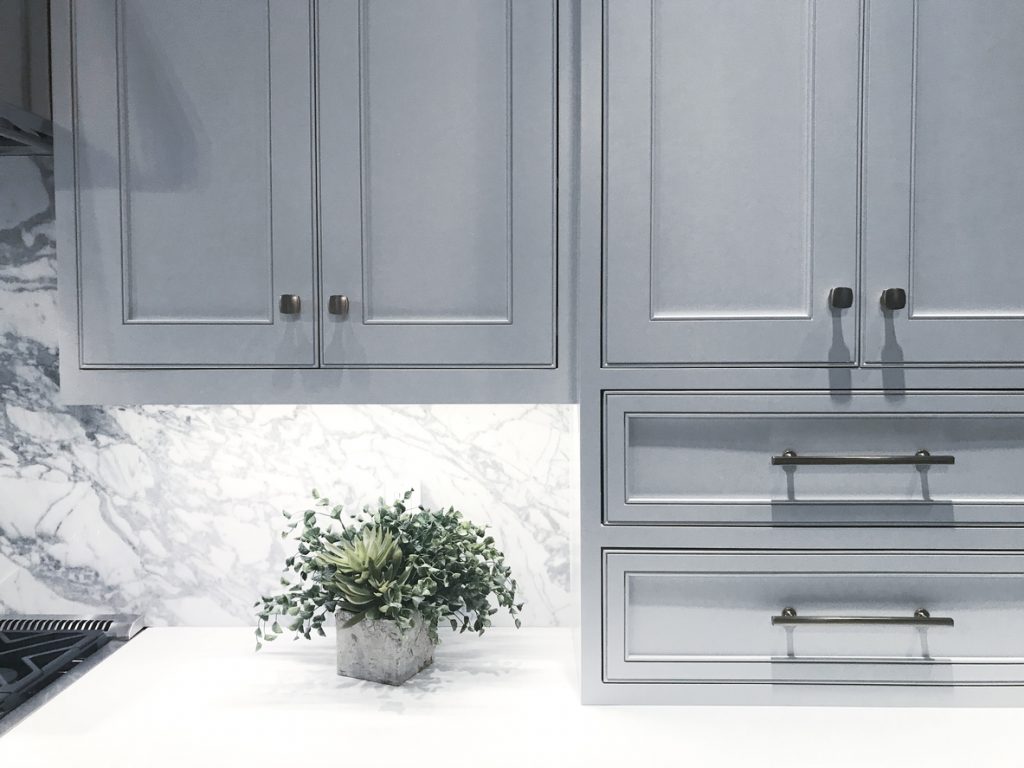
Once your MDF feels flat and even, it’s time to paint.

This is often the final touch that helps cover any evidence of water damage. However, if you aren’t happy with the result once the paint dries, you’re can always sand and paint again, repeating the process until it looks how you want it to.

Repairing MDF water damage can be tricky, but have patience and best of luck! Soon your cabinets will be looking as good as new.


Handhills is a cabinet maker and manufacturer serving central Alberta. We specialize in custom cabinet design and installation, closet design, bathroom vanities, bookcases, custom entertainment centers, kitchen cabinets, shelving, MDF cabinet doors, cabinet parts and more. Send us your measurements and get started with custom cabinets from Handhills. Call the best cabinet maker in Calgary today on (403) 910‐2373 or send an email to [email protected].

The cost of home inspection in Calgary can vary significantly, depending on the company you choose to perform the inspection. Although this is far from the only factor that will influence the price of the service. Below, we look at several of the factors that influence the cost of home inspections.

The Factors Affecting Calgary Home Inspection Costs

The Company Performing the Inspection

The company performing the inspection will likely play the biggest role in determining the cost. Some companies must charge more to cover higher overhead costs, but they often offer comparable services as a result. Similarly, fly-by-night companies may offer lower prices, but the quality of the home inspection in Calgary is likely to suffer as well. 

The Inspection Services Performed

Not all home inspections in Calgary are done the same way. Some inspectors will omit certain tests, like infrared or drone inspections. This will affect the quality of the inspection and may leave you exposed to unidentified problems down the road. As a result, it is important to speak with your home inspector beforehand and determine the testing they plan to perform.

Home inspection on exterior. Using digital tablet to record results

Extraneous Factors

Other factors may also influence the price of your home inspection in Calgary. Rush inspections, additional information and subsequent inspections are all examples of factors that may increase the base cost of your inspection. It is best to work collaboratively with your inspector to minimize these costs.

Book Your Home Inspection in Calgary Today!

Overall, the cost of home inspections in Calgary typically ranges between $400-$600. Still, the various factors described above and the particulars of your inspection will both play a role, so make sure you call today and get more information about your home!

Integra Inspections is a Home Inspection Company in Calgary that provides unbeatable service for home inspections. With over 15 years of experience and the latest technologies such as thermal imaging, you can count on Integra Home Inspections to get you the facts and have you ready for your next home!

Laminate cabinets have long been a popular choice for bathroom and kitchen cabinets. Not only are they a fairly inexpensive choice, but they also provide several different colour and style options.

However, when the veneer starts to crack and peel, you’ll find your space looking a little sadder and older.

Fortunately, the process to fix up your cabinets is fairly simple and cost-effective. Let’s take a look.

Steps To Repairing The Veneer on Your Particle Board Cabinets

Depending on the extent of the peeling and damage, there are two paths to take.

  1. Glue It Down

Taking a pair of pliers, slowly and carefully pull the peeling laminate away from the particleboard. Don’t peel back more than necessary, just until you feel resistance and have reached the veneer that is still firmly attached.

Using a paintbrush, apply contact cement to both the particleboard and the underside of the veneer. Ensure you continue to pull the veneer away from the particleboard, as you don’t want the cement to touch until it’s dry.

Once the contact cement has dried, push the veneer against the particleboard. Take the time to smooth out the veneer, as you want to avoid any bubbles or misalignments.

Finally, use a clamp to hold the veneer and particleboard together while it sets. If you don’t have a clamp, placing something heavy on top will work as well.

  1. Replace The Veneer

If you find that the peeling section of the veneer is too large to simply be glued down, you may need to replace the entire front.

Gently peel the veneer off the particleboard. If there are sections that are still attached quite firmly to the particleboard, using a heat gun will help loosen that bond.

Kitchen Cabinets
Water damaged high gloss white MDF bathroom vanity cabinet door with molding. Moist bathroom condition concept.

Measure and cut the amount of laminate you will need for your cabinet door. It’s okay to measure a little larger, as you can always sand down the edges once it’s on the particleboard.

Add contact cement to the particleboard and the backside of the veneer. Once it dries, carefully push the veneer onto the particleboard. Using your hand or a roller, smooth out any swelling or bubbles, and ensure the entire surface is now covered.

Clamp the veneer to the particleboard while the cabinet door dries. If you don’t have enough clamps, or any at all, placing something heavy on top will work just as well.

Once everything is sealed together, sand out the edges of the cabinets if you feel that is needed.

Maintaining the appearance of your particleboard cabinets truly makes a difference in the feel of your home. Hopefully, you find this to be a simple and straightforward way to keep your cabinets looking brand new!


Handhills is a cabinet maker and manufacturer serving central Alberta. We specialize in custom cabinet design and installation, closet design, bathroom vanities, bookcases, custom entertainment centers, kitchen cabinets, shelving, MDF cabinet doors, cabinet parts and more. Send us your measurements and get started with custom cabinets from Handhills. Call the best cabinet maker in Calgary today on (403) 910‐2373 or send an email to [email protected].